
Preliminary Things

I am a collector of pallets. I love pallet art projects and pallet furniture, so we are never at a shortage for scrap lumber. (This is another reason we need a larger home; I have nowhere to store them) My original idea for this coat hanger project utilized a piece of scrap pallet wood. However, I remembered that I had several smooth planks on hand that my best friend had leftover from a project that she had done. Because the smoothness would lend itself better to decoupage, I chose to use the smooth planks.
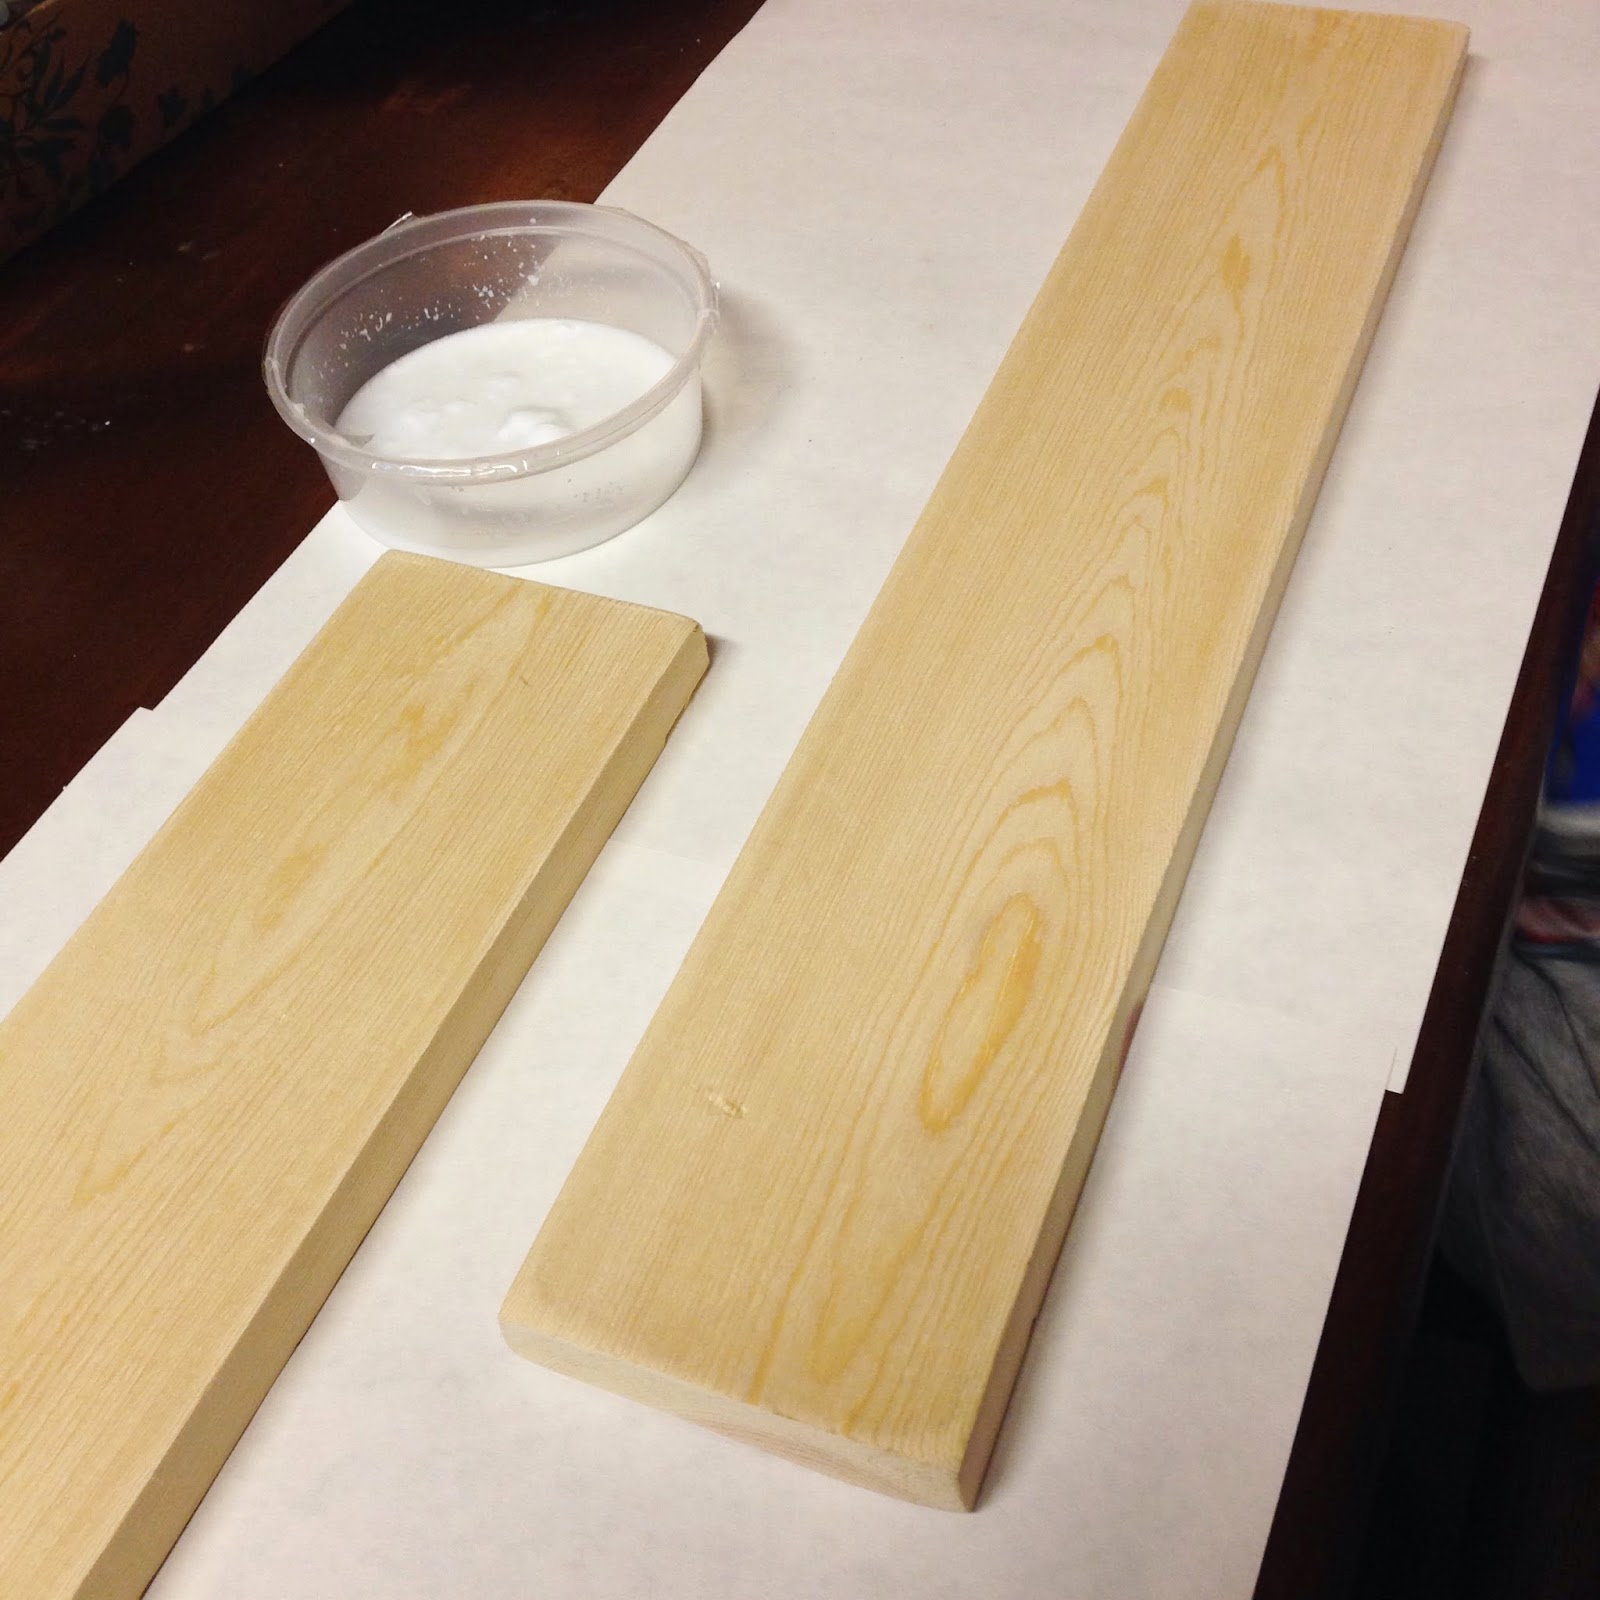
My plank measured 1 x 3 x 38, I had my husband cut it in half so that it was only half that length, though. Final dimension of plank: 1 x 3 x 19
This project is not dependent on using wooden planks only. Hobby Lobby, Michael's, and even occasionally good ol' Walmart carry a variety of unfinished wood pieces. They are generally very inexpensive. Going this route would eliminate any need for cutting the wood as you'd already have your desired size.

You Will Need
- Wood plank
- Old book
- Mod Podge
- Paintbrushes (one large, one small)
- Watercolor Paints
- Pencil
- Black Sharpie
- Drill
- Knobs (with nut for attaching)
- Wire or twine (for hanging your finished piece)
- Black Ink Pad (optional)
Directions
Start with your chosen piece of wood. I chose a plank because I knew I wanted something long and slender to function as a coat rack. I sanded my piece to rough up the surface before beginning the decoupaging process. This part requires your old book, Mod Podge, and a paintbrush.

This is the perfect time to grab your trusty assistant! I dig that crazy eye look!

We then took the bowl of Mod Podge and a paintbrush and brushed a thin layer of Mod Podge across the entire board. You'll want to do this on a piece of newspaper or other paper to protect your work surface.
(We originally planned to do two of these; thus the reason for the two boards)


Your finished boards should look something like this. Don't worry, we're about to clean up those edges!

Let it dry. This is the hardest part for us (we love our instant gratification). Then trim your edges. We just used plain old scissors and they did the job pretty well. See? I told you it would look much better.

This is where you get to exercise your creativity. Use a pencil/pen to outline your doodles on the board. I used a picture that Jonah had drawn as a model for some whimsical houses. Either you or your little one can do this part. I think a blank slate can be kind of overwhelming for little ones (it is for mine) so I find making templates to be much easier. That way he can just fill in with color.

Now, let them go wild with the watercolor. Your lines will be much less noticeable as they paint, but don't worry, we'll fix that! All watercolor will look splotchy; it's part of the appeal!
*Since I wanted the windows to pop and give more depth, I added white acrylic inside the window lines after Jonah's watercolor paint had dried.*

Now, after that is all dry, trace your original lines with a black Sharpie. It will give the piece a very cartoonish/whimsical flair. I also used a black ink pad and ran it around the edges of the board to distress it a bit. That is completely optional, but I really like the dimension that it gives (although the project is completely adorable if you skip that step, too!).

Now it's time to drill your holes and grab your knobs! We're on the downhill slide! Measure exactly where you want your knobs to be on your project and mark those spots. Drill through the board where your marks are.

Now add the knobs! I bought these cute crystal knobs at Hobby Lobby on clearance for $0.75 each! They came with a nut on the back for attaching them.

The final touch is to add a hanger of your choice. I actually just tied a piece of twine to the back of these bolts for hanging. If we were going to be staying in this house, though, I would have affixed it to the wall with wall mounts. You could drill holes and make a hanger that way also.
Your project will look something like this:
The bright colors make us really happy. Plus, it looks like a page from a children's book.

I hope you guys enjoyed this little tutorial. My son had a ball painting it. He is always very excited and proud when his 'art' is displayed in the house. This is actually hanging in the entryway so it's one of the first things that our guests will see when entering our little home. Sometimes I think I should have more adult decor in my house, but then I realize that they are only little once and this is the only time in my life that I can surround myself by things made by my babies. It's totally worth it. Don't you think?
xo, Karee
No comments:
Post a Comment